
Featured Answer: Why is a front tooth implant more complex?
The esthetic zone requires precise control of gum contours, implant position, and crown design. With careful planning and execution, an implant can look and function like a natural tooth, without reshaping the neighbors as a bridge would.
Losing a front tooth is one of the most emotionally challenging dental experiences a person can face. Whether the tooth was lost to trauma, decay, or a failed root canal, the gap in the smile zone affects confidence, speech, and self-image. For patients in Marlborough, MA and throughout the MetroWest region, Dr. Ambereen Fatima at Innova Smiles combines surgical precision with artistic vision to deliver front tooth implants that look completely natural.
Why front tooth implants are harder: the esthetic zone
Dental implants in the back of the mouth are judged primarily by function, can you chew comfortably? Front tooth implants are judged by appearance first. The upper front teeth (central and lateral incisors) sit in what prosthodontists call the esthetic zone, the area visible when you smile, talk, or laugh. Millimeter-level precision matters here in ways it does not for molars.
Here are the specific challenges that make front tooth implants more demanding:
Thin buccal bone
The bone on the outer (lip-side) face of the upper front teeth is often paper-thin, sometimes less than 1mm. This bone is critical for supporting the gum tissue that frames the crown. If it is lost or damaged during extraction, the gum will recede and expose the metal implant collar or create an unnatural shadow. Preserving or rebuilding this bone is essential.
Gum tissue biotype
Patients have either thick or thin gum tissue (biotype). Thin biotypes, more common in patients with narrow teeth and delicate gum architecture, are at higher risk for gum recession after implant placement. A thin gum can also allow the grayish color of a titanium implant to show through, creating an unnatural dark line at the gumline. Dr. Fatima evaluates biotype during the initial consultation and plans accordingly, sometimes recommending a connective tissue graft to thicken the gum before or during implant placement.
Smile line assessment
How much gum tissue shows when you smile directly affects the difficulty level. Patients with a "high smile line", showing significant gum tissue above the teeth, require perfection in gum contouring because any asymmetry is immediately visible. Patients with a low or average smile line have more margin for error because the lip covers the gum-to-crown junction.
Emergence profile
The emergence profile is the way the crown transitions from the implant at the gum level to the visible tooth above. A natural tooth emerges gradually from the gum with a specific contour that reflects light in a characteristic way. Replicating this with an implant-supported crown requires custom abutment design and meticulous crown contouring, something a stock abutment simply cannot achieve in the front of the mouth.
Papilla preservation
The small triangular peaks of gum tissue between teeth (papillae) are extraordinarily difficult to regenerate once lost. Missing papillae create "black triangles" between the implant crown and adjacent teeth, one of the most common esthetic failures in front tooth implant cases. Dr. Fatima's surgical protocol is specifically designed to preserve existing papillae and, when possible, encourage their regeneration.
The surgical process: step by step
Front tooth implant placement at Innova Smiles follows a meticulous, digitally guided protocol. Here is what each phase involves:
Step 1: Comprehensive diagnostic workup (Week 1)
- CBCT scan: A three-dimensional X-ray that reveals bone width, height, density, and the proximity of anatomical structures like the nasopalatine canal
- Intraoral digital scan (TRIOS® 5) — Creates a precise 3D model of your teeth and gums
- Clinical photographs: Standardized smile, profile, and close-up photos for shade matching and treatment planning
- Smile design analysis: Dr. Fatima evaluates tooth proportions, gum levels, midline alignment, and smile line height
- Wax-up or digital mockup: A preview of the final result so you can see the projected outcome before surgery
Step 2: Site preparation, bone grafting if needed (Weeks 2–12)
Not every patient needs bone grafting, but many front tooth cases do, especially when the tooth has been missing for months or was extracted traumatically.
Socket preservation graft: Performed immediately after extraction. Bone graft material fills the socket to prevent the walls from collapsing. This is the ideal scenario because it preserves bone volume for future implant placement.
Ridge augmentation: If bone has already resorbed, a more involved grafting procedure rebuilds the ridge to adequate width and height. Common techniques include guided bone regeneration (GBR) with a membrane, or a block graft harvested from another site.
Healing time after grafting: 3–4 months for the graft to integrate and mature into solid bone capable of supporting an implant.
Step 3: Implant placement (Day of surgery)
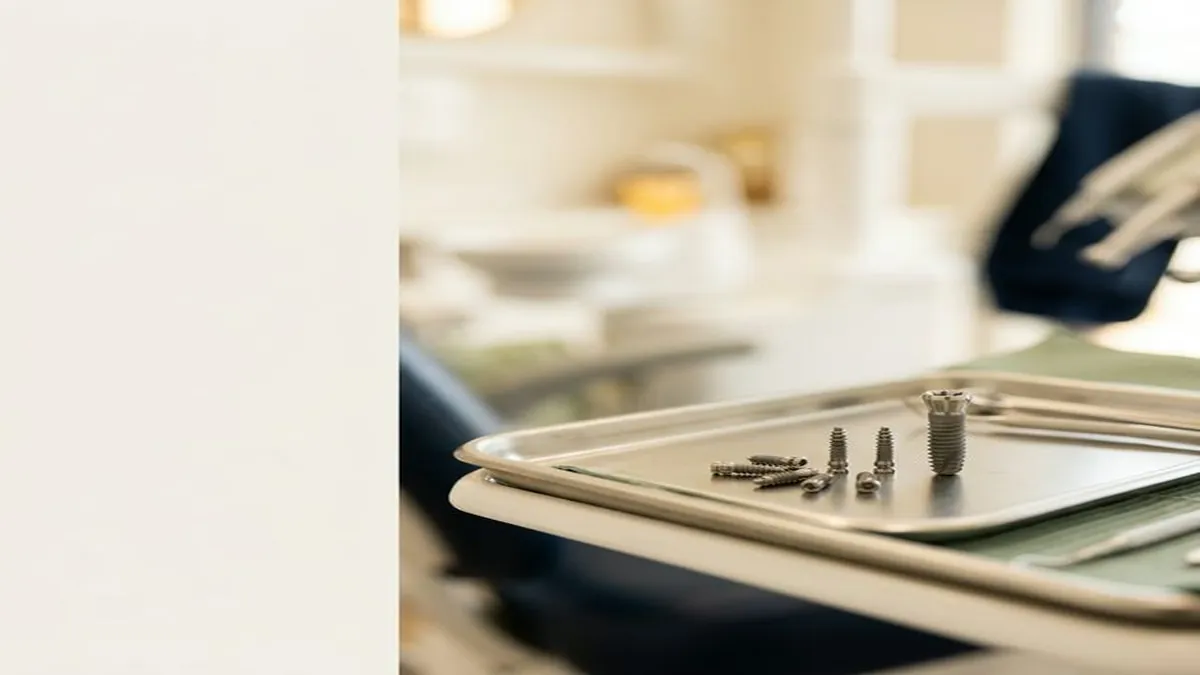
- The titanium implant post (typically 3.5mm diameter for front teeth, narrower than the 4.0–5.0mm posts used for molars) is placed into the prepared site using a digitally guided surgical template
- Local anesthesia is standard; gentle care options ( or premium topical numbing) are available for anxious patients
- Implant positioning is critical: the implant must be placed slightly palatal (toward the roof of the mouth) to ensure adequate bone coverage on the lip side. Even 1mm of malpositioning can compromise the final esthetic result
- Surgery time: approximately 45–60 minutes for a single front tooth implant
Step 4: Osseointegration, the healing period (3–6 months)
The implant must fuse with the surrounding bone through a biological process called osseointegration. During this period:
- You wear a temporary restoration (see options below)
- The implant site is undisturbed, no pressure or force on the healing implant
- Follow-up appointments at 2 weeks, 6 weeks, and 3 months to monitor healing
- Bone integration is verified with imaging before proceeding to the final crown
Step 5: Gum tissue contouring (2–4 weeks before final crown)
This step separates average results from exceptional ones. A healing abutment or custom provisional crown is used to shape the gum tissue into the ideal contour before the final crown is placed. Think of it as training the gum tissue to form the perfect frame around the crown. This phase typically takes 2–4 weeks and may involve:
- Sequential provisional crowns with gradually modified emergence profiles
- Minor soft tissue grafting to optimize gum thickness or symmetry
Step 6: Final crown fabrication and placement
- A custom-milled abutment (the connector between implant and crown) is designed specifically for your anatomy, stock abutments are never used for front teeth at our practice
- The porcelain or zirconia crown is crafted to match the shade, translucency, surface texture, and proportions of your natural teeth
- Multiple shade tabs and photographs under different lighting conditions ensure accurate color matching
- The crown is bonded or screw-retained to the abutment, and a final check confirms occlusion (bite), esthetics, and patient satisfaction
Temporary options during healing
Since front tooth replacement is visible from day one, patients need an esthetic temporary solution during the 3–6 month healing period. Options include:
Flipper (removable partial denture):
- A lightweight acrylic appliance with a prosthetic tooth that fills the gap
- Affordable ($300–$600)
- Cosmetically adequate for smiling and conversation
- Not designed for heavy chewing, remove during meals
- Most common choice for patients on a budget
Essix retainer with pontic tooth:
- A clear retainer (like an Invisalign tray) with a tooth-colored replacement bonded in
- More discreet than a flipper
- Comfortable and easy to remove for cleaning
- Cost: $250–$500
- Best for patients who want maximum discretion during healing
Immediate provisional crown:
- In carefully selected cases, a temporary crown can be placed directly on the implant the same day as surgery
- Provides an instant esthetic result, you leave the office with a tooth
- The provisional is designed to stay out of bite contact to avoid loading the healing implant
- Not appropriate for all cases, requires adequate primary stability (insertion torque of 35+ Ncm) and favorable bone quality
- Cost is typically included in the overall implant treatment fee
Dr. Fatima discusses each option during your consultation to determine which temporary approach best suits your anatomy, healing timeline, and lifestyle. Patients from Hudson, Framingham, and Northborough consistently appreciate having this conversation upfront so they know exactly what to expect during the healing months.
Color matching: the art behind the science
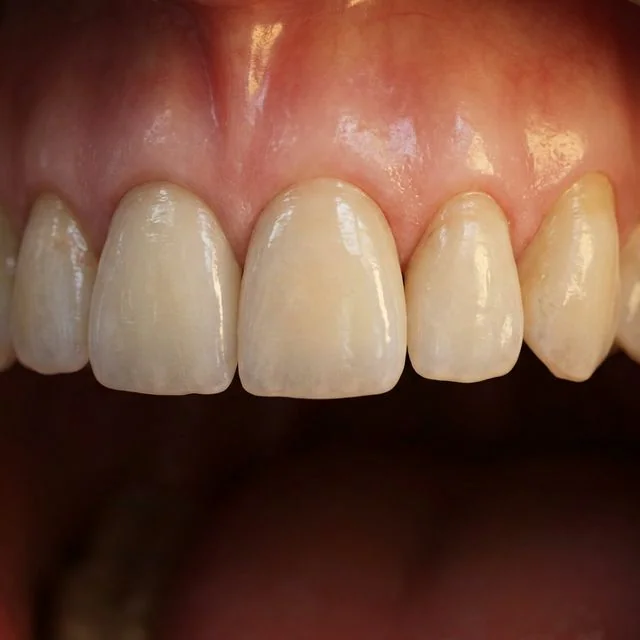
Matching the shade of a single front tooth crown to the adjacent natural teeth is one of the most technically demanding aspects of restorative dentistry. Natural teeth are not a single color, they have layers of translucency, opacity, and color variation from the gum line to the biting edge. The incisal (biting) edge is more translucent. The middle third reflects the primary shade. The cervical (gum line) area is typically darker and more saturated.
Our color matching protocol at Innova Smiles:
- Custom shade photography under standardized lighting, natural daylight, and fluorescent light, teeth can look dramatically different depending on the light source
- Digital shade analysis using a spectrophotometer that measures the precise hue, value, and chroma of adjacent teeth
- Communication with the ceramist: Dr. Fatima works directly with a master ceramist, sharing detailed photographs, shade data, and specific instructions about characterization (subtle features like mammelons, translucent zones, or white spots that make a tooth look real)
- Try-in appointment: Before permanent cementation, the crown is evaluated in the mouth under multiple lighting conditions. If any adjustment is needed, it goes back to the lab. We do not compromise on shade match.
Gum tissue management: the hidden half of the result
A perfect crown on poorly managed gum tissue still looks unnatural. Gum tissue health and symmetry account for at least half of the final esthetic outcome. Here is what we focus on:
Gum symmetry: The gum margin on the implant crown should mirror the gum margin on the adjacent natural tooth. Asymmetry of even 0.5mm is noticeable in the front of the mouth.
Tissue thickness: Thin tissue types may require a connective tissue graft (tissue harvested from the palate or from a donor source) placed over the implant site to create adequate soft tissue volume. This prevents grayish show-through from the titanium implant and creates a natural-looking fullness.
Papilla management: Black triangles between the implant crown and adjacent teeth are prevented through careful implant positioning (the implant must be at least 1.5mm from the adjacent tooth) and a provisional crown protocol that guides tissue growth into the interproximal space.
Why implants are superior to bridges for front teeth
A traditional bridge requires grinding down the two teeth on either side of the gap to serve as anchors. In the front of the mouth, these are often healthy, undamaged teeth. Here is the full comparison:
| Factor | Single Implant | 3-Unit Bridge |
|---|---|---|
| Adjacent teeth affected | None, implant stands alone | Both neighbors ground down to stumps |
| Bone preservation | Implant stimulates bone, preventing resorption | Bone under the pontic gradually resorbs |
| Average lifespan | 20+ years (many last a lifetime) | 10–15 years before replacement needed |
| Hygiene | Floss normally around implant crown | Requires threading floss under the bridge pontic |
| Failure consequence | Replace the single crown | Entire 3-unit bridge fails if one anchor tooth develops a problem |
| Long-term cost | Higher upfront, lower lifetime cost | Lower upfront, higher lifetime cost (replacements) |
Research in the Clinical Oral Implants Research journal confirms that over time, the implant also maintains bone volume in the jaw, preventing the subtle facial changes that occur when bone resorbs after tooth loss. For a front tooth, where facial aesthetics depend on underlying bone support, this is a significant long-term advantage.
Cost: front tooth implant vs. molar implant
Front tooth implants cost more than posterior (molar) implants because of the additional planning, materials, and artistic skill required. Here is a realistic cost comparison at Innova Smiles:
| Component | Front Tooth Implant | Molar Implant |
|---|---|---|
| Implant post (surgical placement) | $2,000–$2,500 | $1,800–$2,200 |
| Custom abutment | $600–$900 | $400–$600 (stock abutment often sufficient) |
| Final crown | $1,500–$2,200 (all-ceramic, custom-characterized) | $1,200–$1,800 (zirconia or PFM) |
| Bone grafting (if needed) | $500–$1,500 | $400–$1,200 |
| Soft tissue grafting (if needed) | $500–$1,200 | Rarely needed |
| Total range | $4,000–$7,500 | $3,400–$5,800 |
Insurance: Many dental PPO plans cover implants partially, typically 50% of the surgical component up to the plan's annual maximum ($1,500–$2,500 on most plans). We verify your specific coverage before treatment begins.
Financing: CareCredit and Cherry 0% APR plans make front tooth implants accessible. A $5,500 case financed over 24 months at 0% APR works out to approximately $229/month.
Case scenarios: real situations we treat
Scenario 1: Trauma from a sports injury A 28-year-old Sudbury patient lost a central incisor during a recreational hockey game. The tooth was avulsed and could not be reimplanted. Socket preservation grafting was performed immediately. After 4 months of healing, a single implant was placed with an immediate provisional crown. Final all-ceramic crown was delivered at 7 months. Result: indistinguishable from the natural tooth.
Scenario 2: Failed root canal with infection A 45-year-old patient from Framingham had a central incisor that developed a chronic infection around a decades-old root canal. The tooth became discolored and mobile. After extraction, the site required guided bone regeneration due to bone loss from the infection. Total treatment time was 10 months (longer due to extensive grafting), but the final implant crown restored both esthetics and function completely.
Scenario 3: Congenitally missing lateral incisor A 19-year-old from Westborough was born without a lateral incisor. The baby tooth had been retained but was now loose and failing. Space had been maintained with orthodontics. After extraction of the baby tooth, the implant was placed with minimal grafting needed. This is one of the most satisfying cases to treat because the patient has often lived with the problem for years and the implant provides a permanent, confident solution.
Success rates and what affects them
According to the American Academy of Implant Dentistry, front tooth implants have a success rate of approximately 95 to 98 percent when placed by an experienced clinician using guided planning protocols. The key factors that influence success:
- Adequate bone volume: Sufficient width and height of bone to fully encase the implant
- Healthy gum tissue: Free of active periodontal disease
- Non-smoking: Smoking reduces blood flow and impairs healing. Smokers have a 2–3x higher implant failure rate
- Provider experience: Front tooth implant placement requires advanced training beyond general dental school. Fellowship-level training in implantology and prosthodontics provides the surgical and restorative expertise needed for predictable esthetic results
- Guided surgery: CBCT-planned, template-guided implant placement reduces human error and improves accuracy of implant positioning
Dr. Fatima's FAAIP prosthodontic fellowship and FICOI surgical training support the nuanced planning required for a smooth esthetic outcome. This combination of surgical and restorative expertise, in a single provider, eliminates the communication gaps that occur when one doctor places the implant and another designs the crown.
What to expect during recovery
Day 1–3: Mild to moderate swelling and discomfort, managed with prescribed medication and cold compresses. Most patients take 1–2 days off work. Soft food diet. Your temporary restoration (flipper, Essix retainer, or provisional crown) is in place.
Days 4–14: Swelling subsides. Transition to a normal diet (avoid biting directly on the implant area). Sutures dissolve or are removed at the 2-week follow-up.
Weeks 3–12: Healing progresses with no activity restrictions. The implant site requires no special care beyond normal brushing and flossing. Avoid hard, crunchy foods directly on the temporary.
Months 3–6: Osseointegration completes. A follow-up CBCT or periapical X-ray confirms successful bone integration. The final restorative phase begins.
For a detailed day-by-day guide, see our dental implant recovery timeline.
Ready to replace a front tooth with confidence? Call (508) 481-0110 or request a consultation. Patients from Sudbury, Southborough, Hudson, and across MetroWest trust Dr. Fatima for implant cases that demand both surgical precision and artistic skill.
Related Articles
- Dental Implant vs. Bridge: Best Solution for Missing Teeth
- Guided Implant Surgery: CBCT Precision and Safety
- Dental Implant Recovery: Day-by-Day Timeline
- What to Expect During Dental Implant Surgery
- Dental Implant Materials: Titanium vs. Zirconia
- Why FICOI & FAAIP Credentials Matter for Implants
- All-on-4 Dental Implants: Full Mouth Restoration Guide